Instructions on how to use x2VOL
CREATING AN X2VOL ACCOUNT
- Go to https://www.x2vol.com
- Click the JOIN button at the top right corner of the page
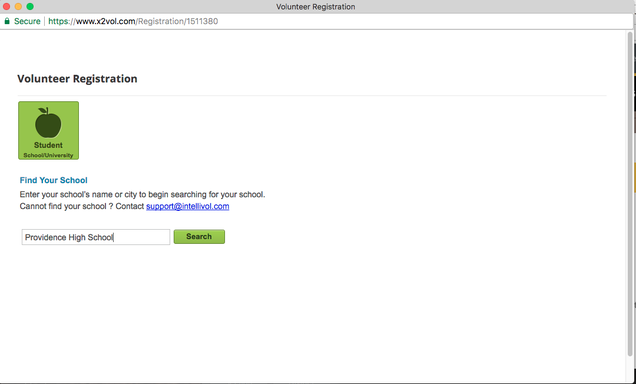
- A separate screen will appear, with the words "Volunteer Registration" at the top. Underneath it, it will say Find Your School. Make sure to search for Providence High School.
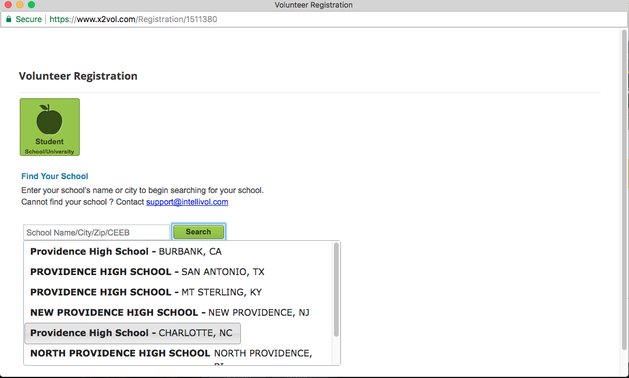
Click "Search". When you do so, a drop down of schools will appear. Click the one that says "Providence High School - CHARLOTTE".
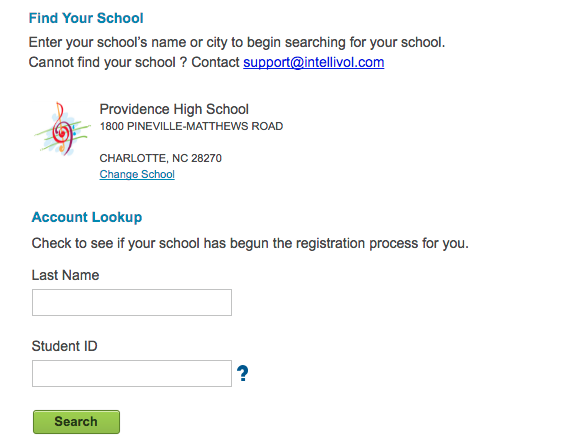
- After you click on the school, it should show you the name of the school and the address. Make sure the address says "Charlotte, NC 28270". If that is not correct, click the "Change School" hyperlink.
- The words Account Lookup should then appear. It will ask you to enter your last name and Student ID to see if your school has already began the registration process for you. Enter your last name and Student ID in the provided text boxes.
- A window will pop up, showing you all of your personal information (name, birthday, email, address, etc.). Make sure that all of the information is correct. Then, press the "Proceed" button at the bottom of the page.
- The next page will ask you about your interests. Look at the picture at the top of the page to show you how to answer the questions, using the interest gauge. Make sure you answer the check boxes at the bottom of the page, too.
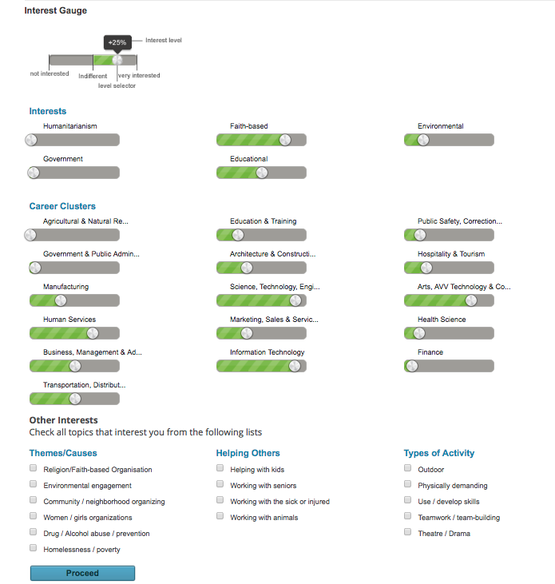
When you are done with this page, hit the "Proceed" button.
- The next screen will have a section at the top of the page called Sign-In Preference. It will ask you to enter your email address (which will be your username to sign into x2VOL), and it will ask you to create a new password. Make sure you jot your password down somewhere, so you don't forget! You will need it to log your hours/points!
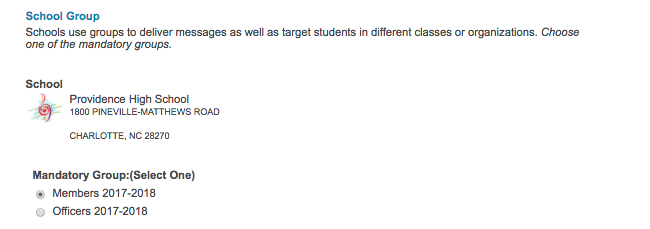
- Underneath that, will be another section called School Group. Again, it will show your school and the school address. Right underneath that, it will say "Mandatory Group: (Select One)". There are two options: Members 2017-2018 and Officers 2017-2018. Make sure you click Members 2017-2018.
- The section right underneath that is Event Registration Notification. If you want x2VOL to send you automatic updates of events you have signed up for, feel free to enter your email address in the text box. That is totally up to you. The check box underneath that is also totally optional.
- There are two check boxes and buttons at the very bottom of this page. Those are REQUIRED. Make sure you click them!
- Click the "Proceed" button.
- A message will pop up on the screen saying "Activation Successful", and that a welcome email will be sent to your email shortly. Click "Close".
- It will then take you back to the homepage of x2VOL. You can now go log in!
HOW TO ENTER HOURS AND POINTS
- Go to https://www.x2vol.com.
- Click the LOG IN button. Enter your username and password.
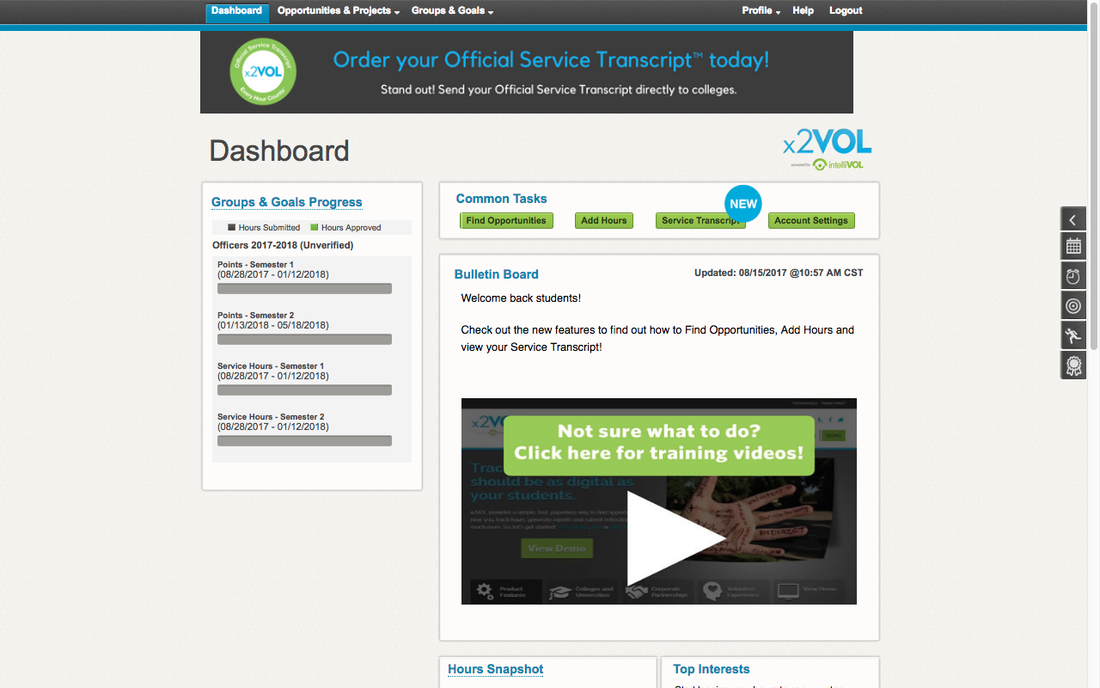
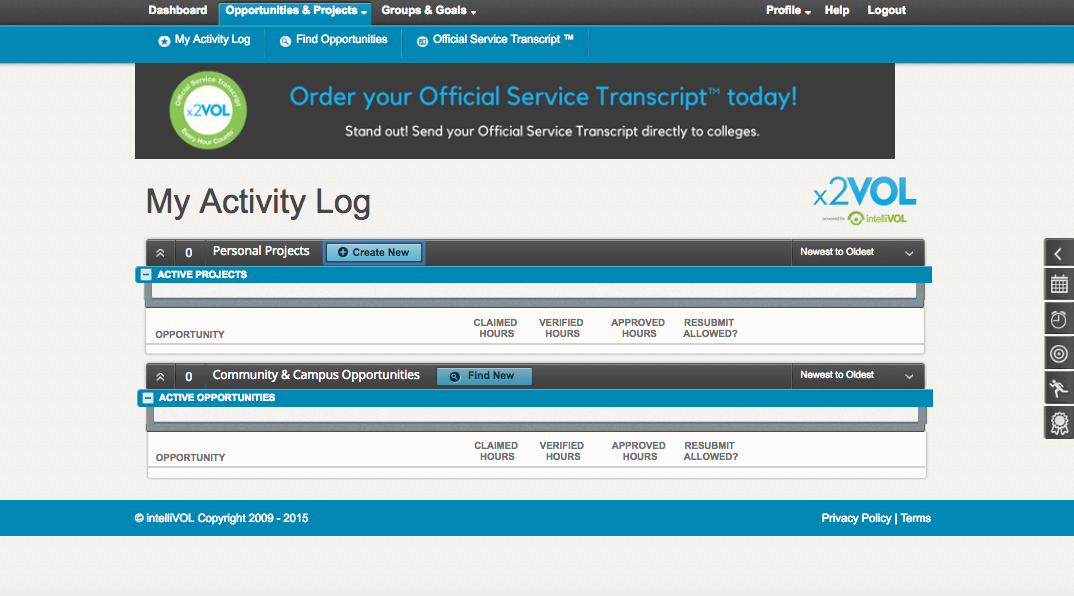
- Once you log in, it should take you to a page that says Dashboard.
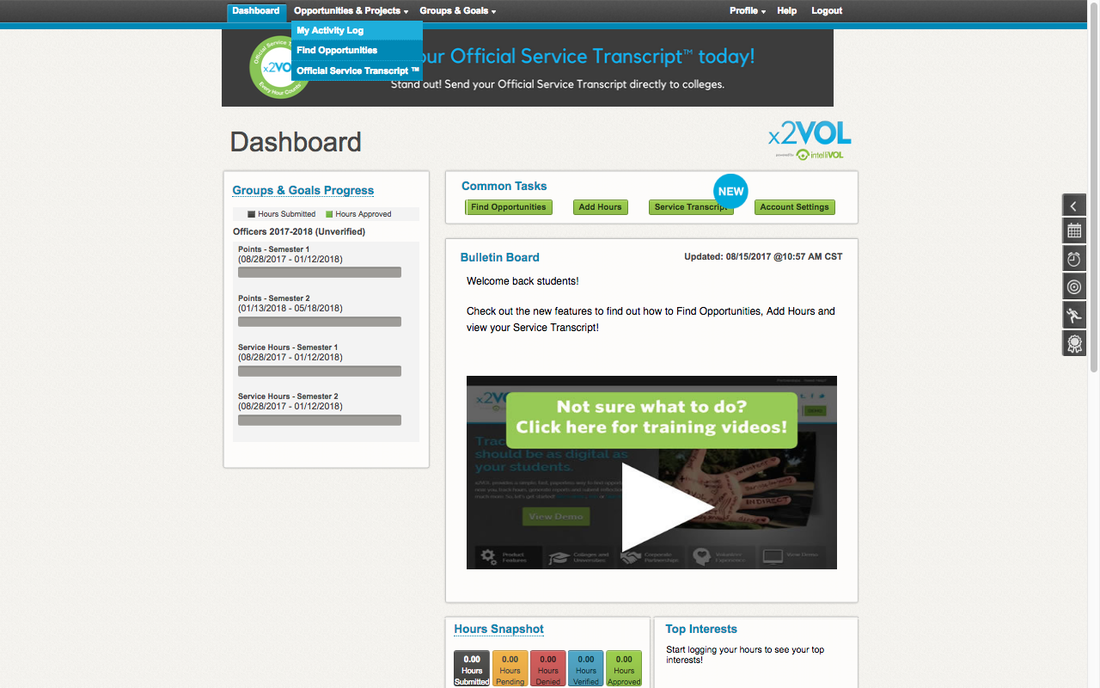
- Go to the tabs at the top of the page, and find "Opportunities & Projects". Hover over it until you see a dropdown.
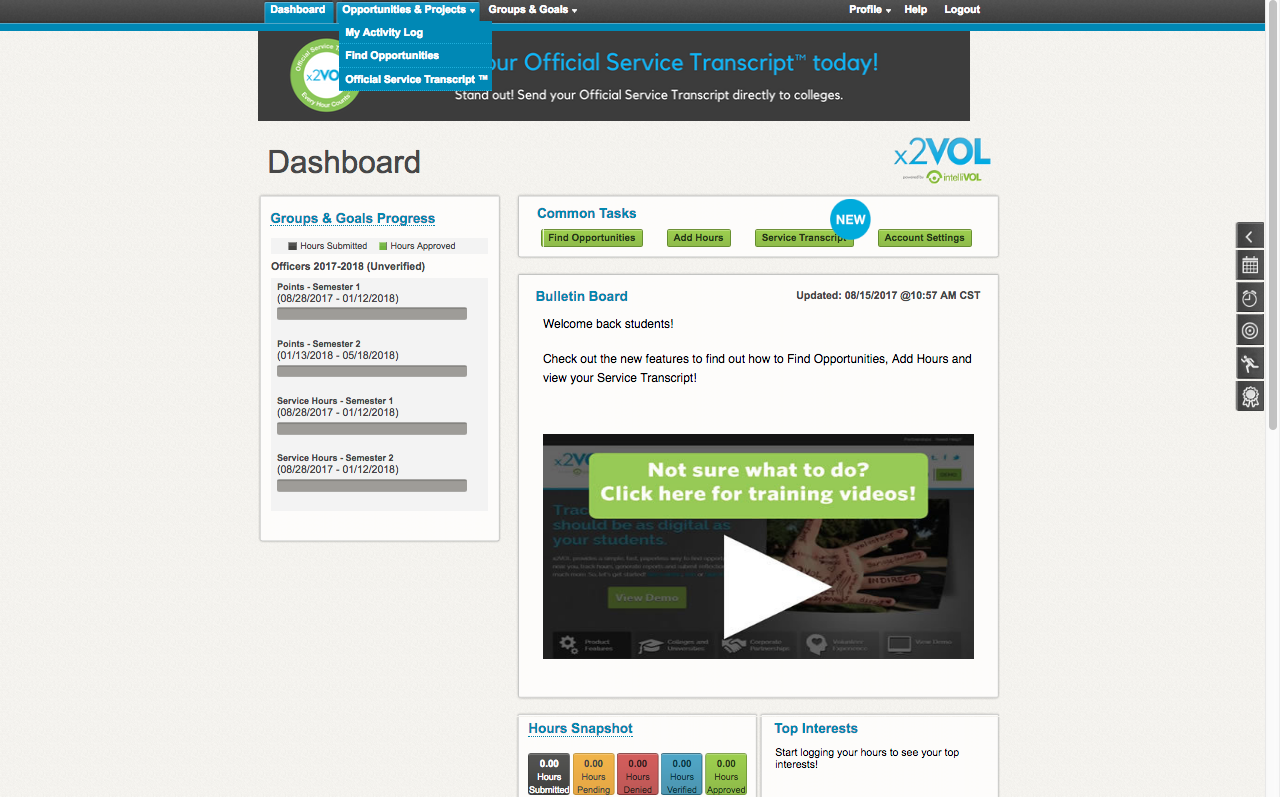
- Click on the "My Activity Log" tab.
- Two tables will be showing. One that says "Personal Projects" and another that says "Community & Campus Opportunities". To the right of the "Personal Projects" table, there will be a button that says "Create new". Click on that.
- At the top of the page, you will see the activity titled Activity. Underneath that, it will ask you type in the name of the Agency or Organization, and to enter a project description. If you are logging out-of-department hours, you wuld put the namme of the organization that you did hours for in the "Agency or Organization Name" box, and you will describe what you did in the "Project Description" box. This applies for in-department hours as well.
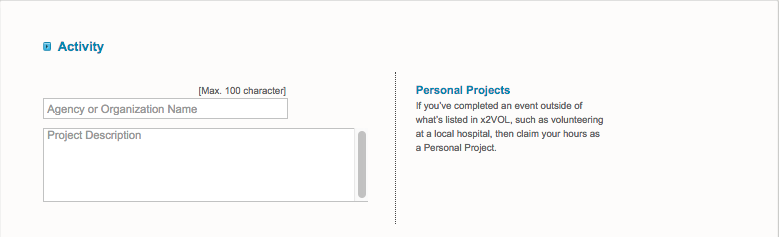
- Underneath that, there will be a checkbox that says "Make this a recurring project." If you are going to volunteer with the same organization multiple times a week or month, then click that box so you don't have to enter the same information over and over again. There is also a description underneath it that explains the purpose of that box.
- Right underneath that, it asks for you to select the interest that best describes the activity you performed. Click one of the buttons provided.

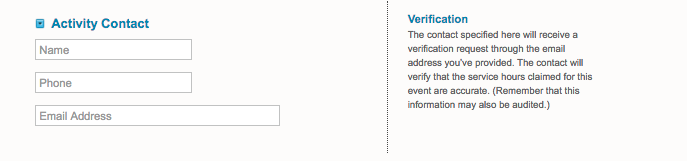
- The next section is titled Activity Contact. Make sure you enter the name, phone number, and email address of an adult who WORKS at the organization that you volunteered at, and can verify that you were there. DO NOT PUT YOUR CONTACT INFORMATION!
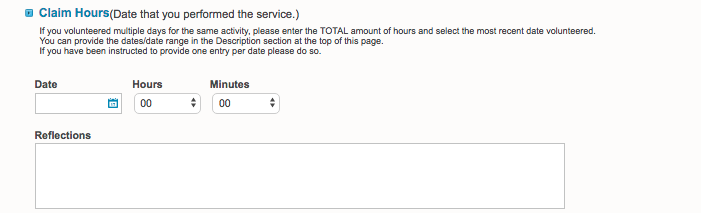
- The section underneath that is Claim Hours. First, enter the date that you volunteered. DO NOT PUT THE DATE THAT YOU ARE ENTERING YOUR HOURS/POINTS INTO X2VOL! If you volunteered multiple days for the same activity, please enter the TOTAL amount of hours and select the most recent date volunteered. You can provide the dates/date range in the Description section at the top of this page. If you have been instructed to provide one entry per date please do so. Then, select the number of hours and minutes (if applicable) that you spent volunteering. Finally, enter any reflections you want to include.
NOTE: There is no drop down option for points. You will need to put the number of points you are tracking in the "Hours" drop down. For example, say someone is tracking 1 point for bringing food to the induction ceremony. They will put the date of the induction ceremony, and then, under hours, just select 1. The instructions later will explain how to have it count as points.
- Right underneath that, is a section titled Apply Hours to Goal(s). Make sure the check box underneath that (that says "Organization Goals" is checked). Right underneath that, a table should appear with a list of Goals that are specific to Tri-M.
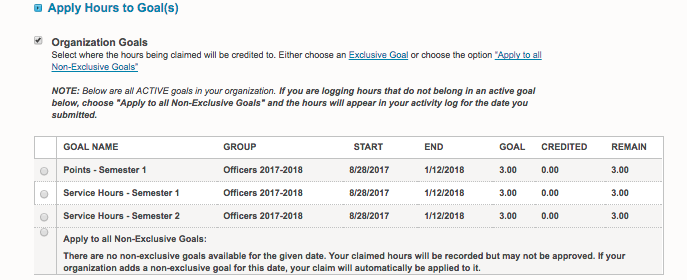
Make sure you choose the right goal (i.e. Service Hours - Semester 1 if you are tracking service hours for first semester).
NOTE: If you are tracking points, you must click "Points - Semester 1 (or Points - Semester 2 -- dependent on what semester it is). Even though you marked the amount of points in the "Hours" drop down, you MUST click "Points - Semester 1/2" in order for it to count as points.
- Right underneath the table should be a checkbox with a statement that says something along the lines of the hours you are submitting are accurate and the details are truthful. THAT BOX MUST BE CHECKED!!!!

- Finally, there is a Comments section at the very bottom of the page. Feel free to include any comments! It's not required, but don't be afraid to share some interesting comments/feedback!
- Once you are done, click the "Submit" button at the very bottom of the page.
